Art Journaling with Kids: Doodle on Photographs

I’ve had the pleasure over the past few months to host and art camp for kids in our home. It was an amazing experience and combined two of the things I love most: art and kids. We had a blast making different projects each week and learning all sorts of techniques, from watercolor (definitely the hardest to teach!) to acrylics to line art. One of the overall favorite projects of the summer was a doodle self portrait. It takes a tiny amount of prep work, but the final result is so worth it. The kids in my classes were over the moon about their finished work.
Supplies Needed:

Instructions:
Take pictures of your kid(s) against a very plain backdrop. We used a blank wall in our homeschool room. Have them pose in a way that has their arms away from their body. You want to create as many nooks and crannies and blank spaces as possible to fill with doodles. I loved this one of Ethan looking like he’s yelling.

A few pose ideas include:
–hand on hips
— hands as a megaphone for fake yelling
— arms outstretched like a scarecrow
— one arm up
— “Barrel of Monkeys” (like Ellie, below)
Convert the images to black and white and have them printed.

Start doodling!
I began this project by drawing the lines out from Ethan’s mouth to look like he’s yelling and then slowly filled in the rest of the spaces with different doodle patterns.
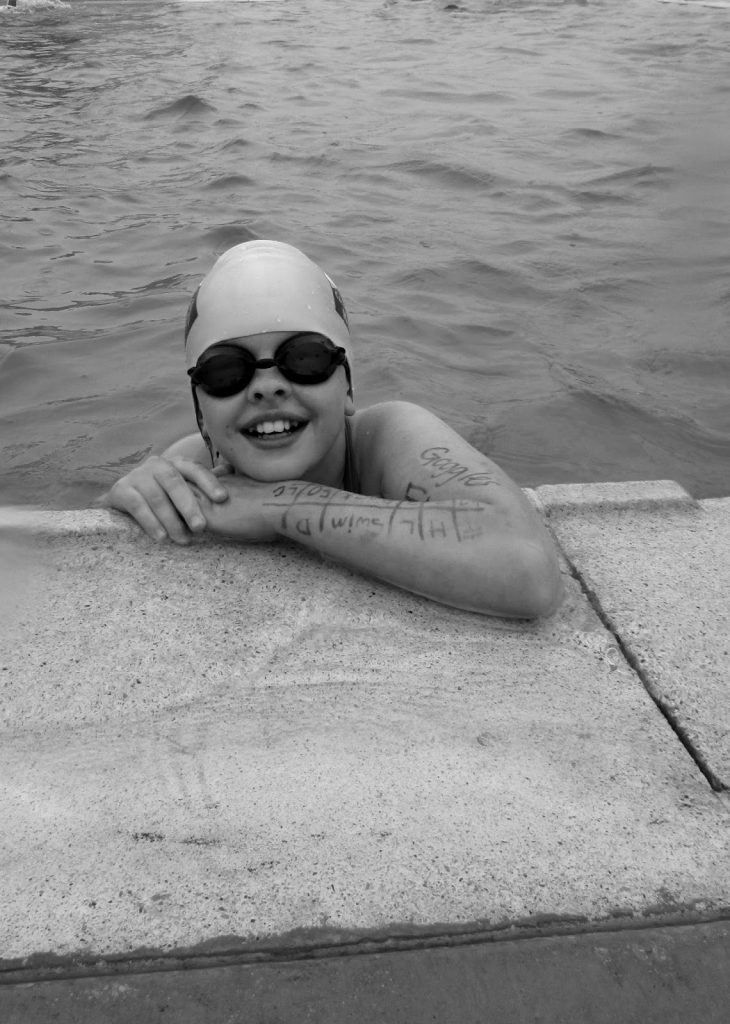
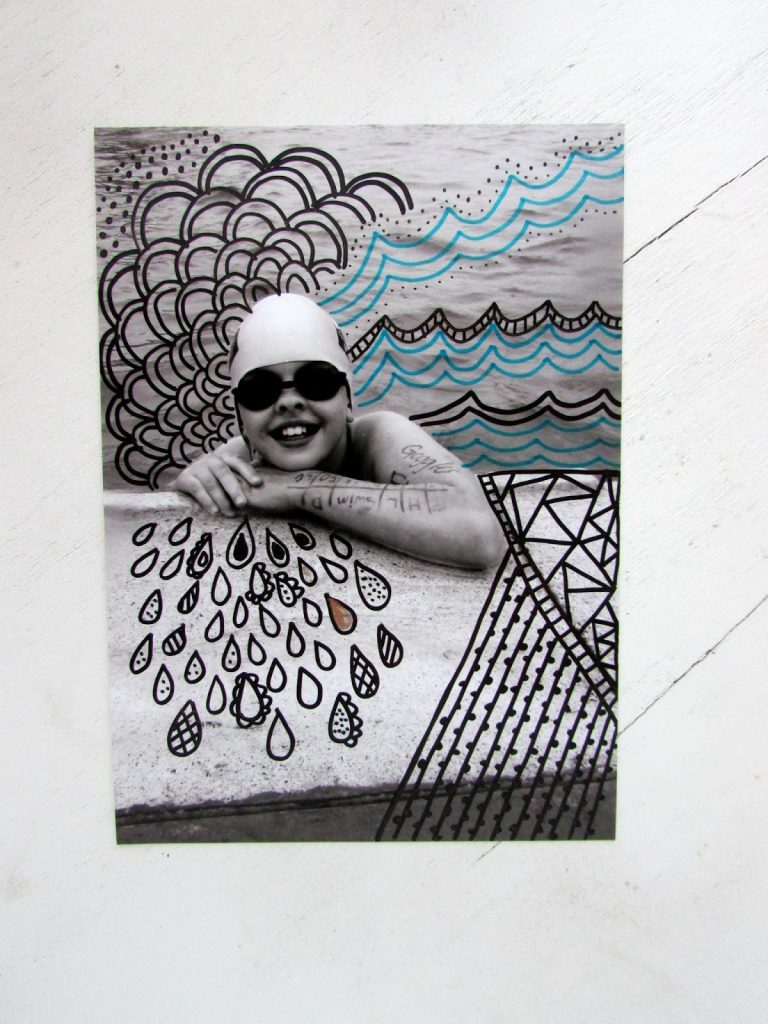
I also went through our recent pictures and found a few of the kids with simple backgrounds. I loved this one of Ellie at a recent swim meet. I incorporated some water designs, with the waves and drips of water. In both versions I made, I used a very limited number of colors because I wanted the focus to still be on my darling kiddos. The kids in my class went to town with multiple colors and their projects looked amazing, too. I used the photo of Ethan (above) and Ellie (below) as examples for the class and then turned the kids loose to work on their own pieces.


* We found that the metallic sharpies had a difficult time drawing consistantly on the glossy photo paper. I did figure out that if I scribbled on regular paper for a second when the sharpie wasn’t working well, it would work better on the photo paper again for a while.