How I Caught Up on Three Years of Photos in Less Than 10 Hours!
I recently discovered that I somehow skipped putting three years worth of our family photos into scrapbooks. I’m not exactly sure how it happened, but I think I can guess: life got hectic, I didn’t have a plan in place and the time passed. Sound familiar? I’m pretty sure I’m not the only one with a huge stack of photos waiting to be put into albums.

We love looking through photo albums together and my kids adore hearing stories about themselves when they were tiny. It was important to me to get those precious memories down on paper but I do not have the time to make elaborate scrapbooks. So I came up with a super simple method to preserve both our photos and the stories behind them.

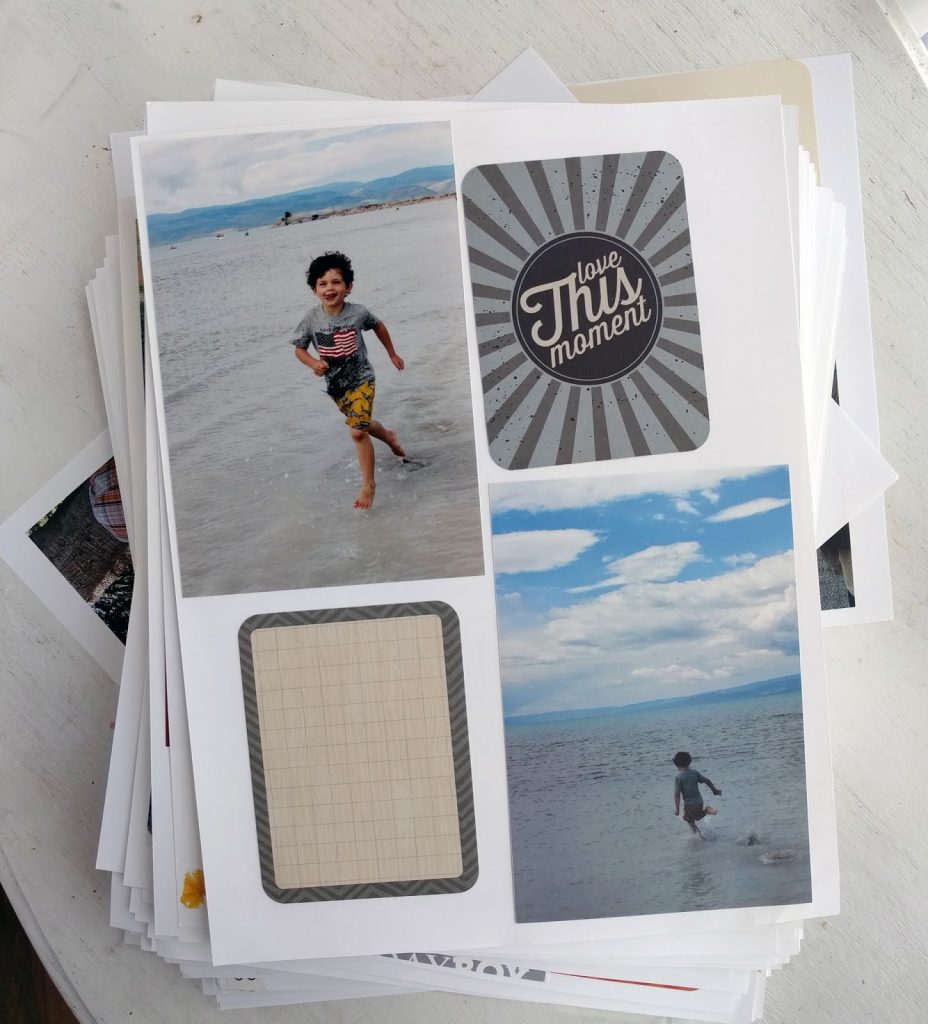
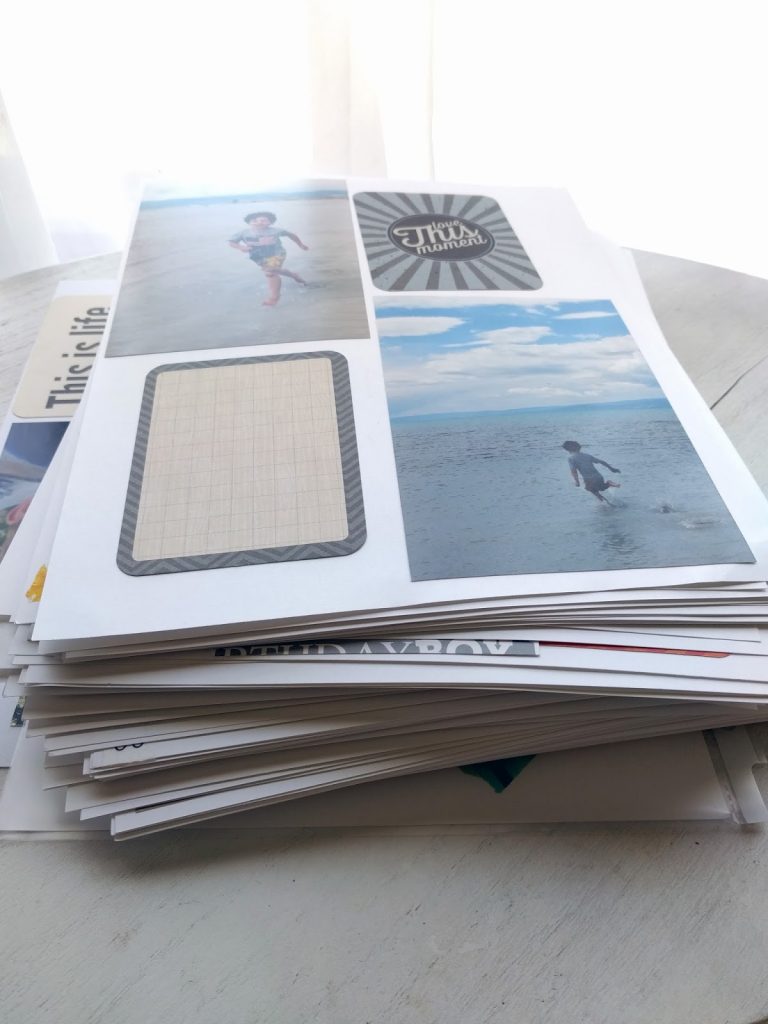
While going through the photos, I came across this favorite from a trip to Bear Lake a few years ago. Ethan was probably 5 years old. In the glorious shallow water he was convinced he was actually running fast enough to run ON water (seriously, Bear Lake is AWESOME for kids. The water is so shallow so far out into the lake, they have a lot of freedom to splash around without their water-paranoid mommy jumping all over them.) He did this for 2-3 years in a row and I was so sad when he realized he wasn’t running on top of the water anymore, but that the water was only 2 inches deep so it felt like it.
And I realized that that’s really what it’s about for me. I want to remember the stories. It’s been liberating to come to this realization. I’m no longer trying to fill up a page of photos each week. But when something is important enough to document with a photo–a family adventure, something funny one of the kids said or did, major milestones and sweet moments– those are the things I scrapbook. We want to see the photos and read the stories. But I don’t need to document every single day, or even every single week. Life-changing.
Keep in mind, the actual process of scrapbooking is something I enjoy. I know I could do something with photo books that are designed online and then printed. But physically journaling, with pen on paper, is something I truly and deeply enjoy and I wanted that to be a part of this project. If you don’t like this method, don’t use it. There are lots of other ideas out there!
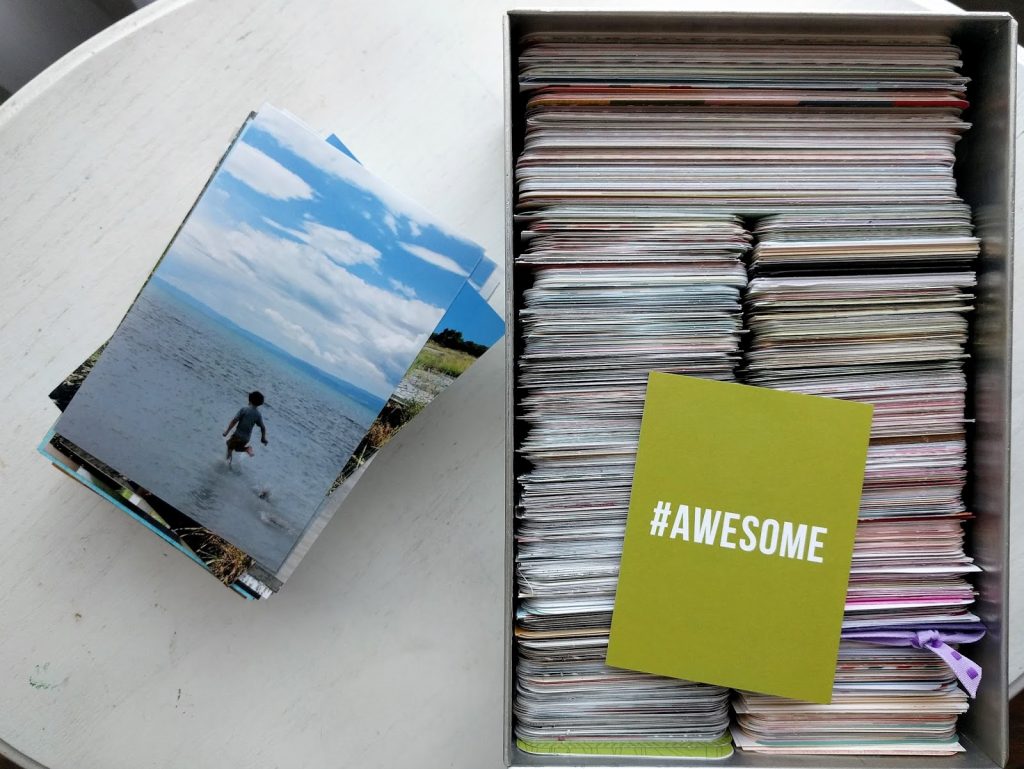
If you’ve got a similar stack of photos that you want to preserve, here are the steps I took to accomplish this in just a few hours.
Purge and Print Photos
Gather Supplies
Get It Done